In life, people fall into two camps: those who find messy, crafty seasonally-themed activities a joy…..and those who want to run screaming for the hills at the thought. Here’s something for the good folk in the first camp!
You’ll need:
Eggs
Food coloring
Vinegar
Oil
A pin
Start by blowing your eggs. Use a pin to create a small hole at either end of your egg. Too big, and your hole will look unsightly – too small, and you’ll never be able to blow the contents out, no matter how hard you huff and puff. Find your happy medium, and blow the contents of the egg out into a bowl. Giving it a shake after you start will help by breaking up the yolk, and you might need to use the pin to break up any clumps that form over your hole once you get started. Save your blowings to make scrambled eggs, if they aren’t too slobbery……
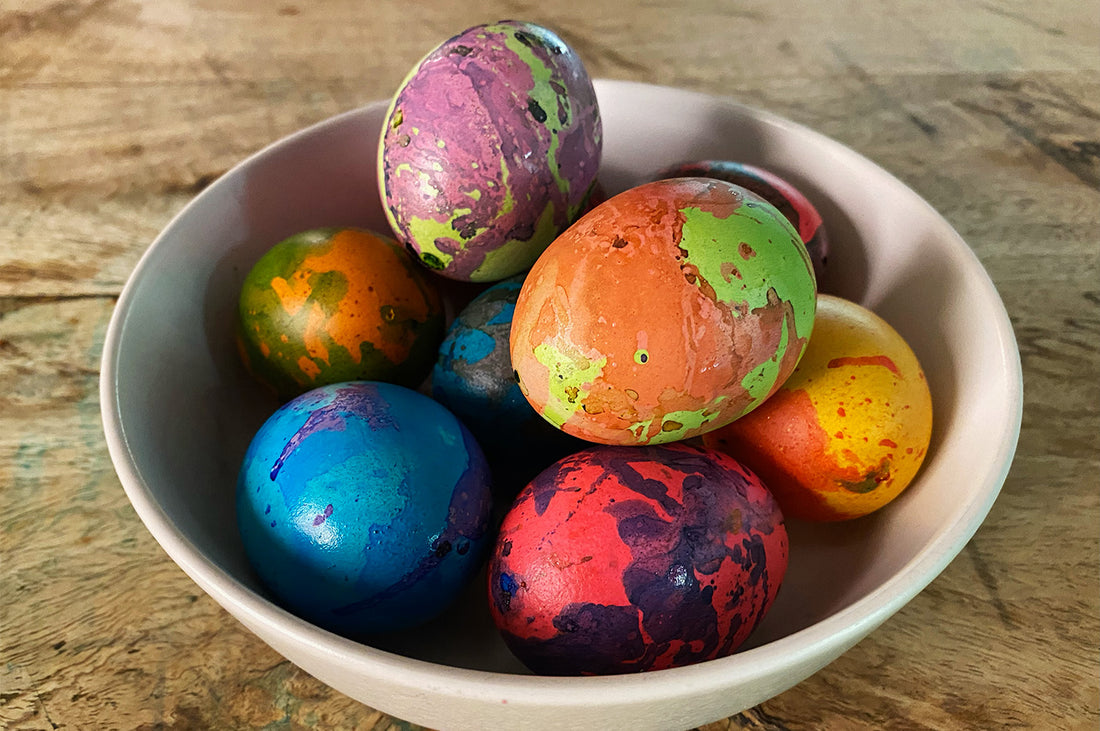
Half fill a drinking glass with hot water, a teaspoon of vinegar, and one of the lighter of your food colors. (The marbling will work better with a light base color, followed by a darker second color).
With a fork, hold the egg under the water for a few minutes. When it has a good color, take it out to dry on a rack.
Prepare a shallower ramekin dish, half filled with water, for the next layer of color. Add a really good slug of darker food color, then a couple of teaspoons of oil.
Swirl the oil around on the top, then swirl your egg quickly across it. Remove and place on a wire rack to dry. Don’t forget to put something under the rack to collect the dribbles, and embrace the fact that you are going to have blue/green/pink hands for at least the next day!
Repeat with as many colors as you have, and as many eggs as you feel up to blowing out! Happy Easter.